
© John R. Bentley 2007.
Using the
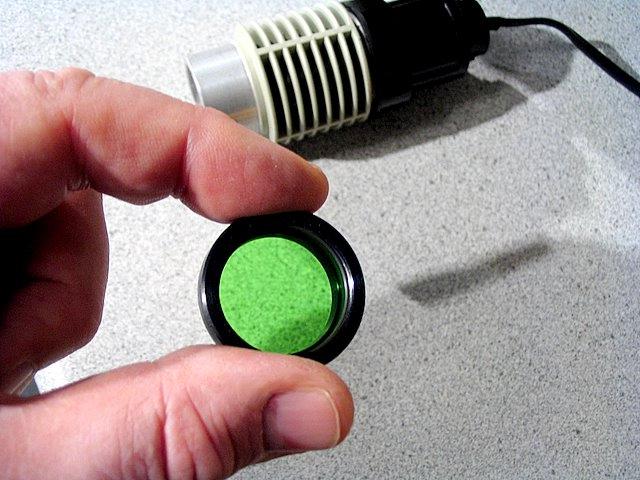
An 8x/23 eyepiece containing a glass reticle with a scale for measuring.
This page is part of the website ModelEngines.info and conveys my personal experiences using a stereo microscope as an aid to making small components in my home machine shop. It implies absolutely nothing about what anyone else should or should not do, regarding the use or purchasing of a stereo microscope. Please accept the page for what it is and enjoy some revealing close up views of one of these marvellous instruments.
Scroll down for the MBC-10 details...or...
The drum provides five selectable degrees of magnification and there are three sets of eyepieces, resulting in a total of fifteen possible magnification powers from about 3x to 100x. There are only two sets of lenses on the drum and one set of empty holes. The drum can be rotated through six positions enabling viewing from either end of the two lens sets or the pair of empty holes. As the natural power of the big objective lens is about 2x, that is the magnification multiplier provided for the selected eyepieces when the empty holes are in the optical path. Obviously you can look through these empty holes from either side of the drum by rotating it 180 degrees. Therefore there are two positions giving a 2X multiplication factor.
All three photos were made with a Canon A75 at full wide angle position of the camera zoom. The camera was handheld over the right eyepiece (8x). The Canon autofocus system was in use. I also tried an Olympus Verve S in super macro - the picture showed none of the field's circular periphery. The result was a rectangular image of the main portion of the microscope's field of view.
I plan to use the instrument in this location for assembly of small components and general inspection duties. I hope a couple of mounting brackets will be conjured up soon to allow attaching the microscope to my lathes and micro mill. When I do that, they will become the subjects of other pages linked to this web page.
This instrument was purchased from Oceanside Photo & Telescope in California.
Lomo MBC-10 Stereo Microscope System
(МБС-10 or SF-100B)
In the Model Engine Workshop

N9201942
( to go directly to Page 2 about this microscope attached to the Taig lathe
Click Here )
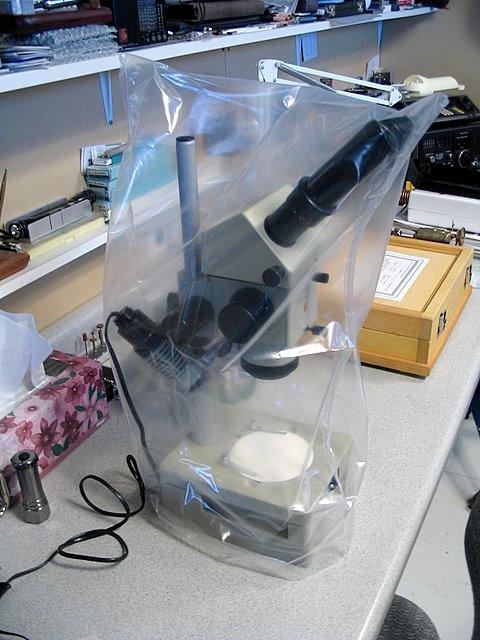
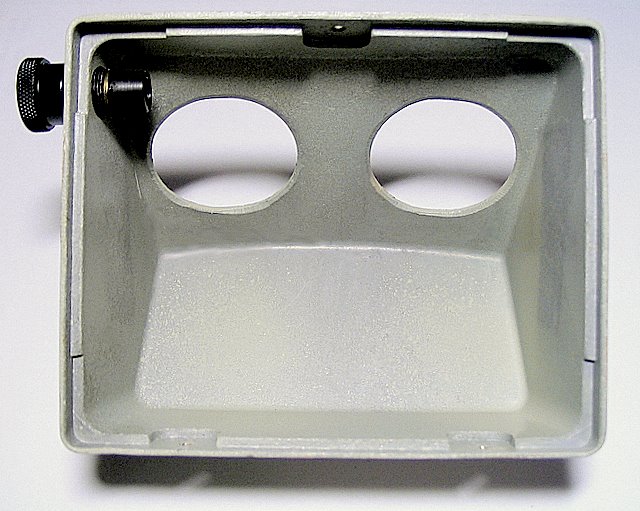
A dust cover is essential in a workshop full of flying metal chips!
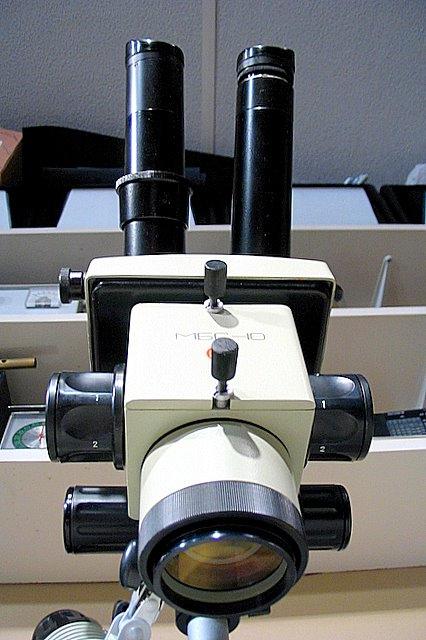
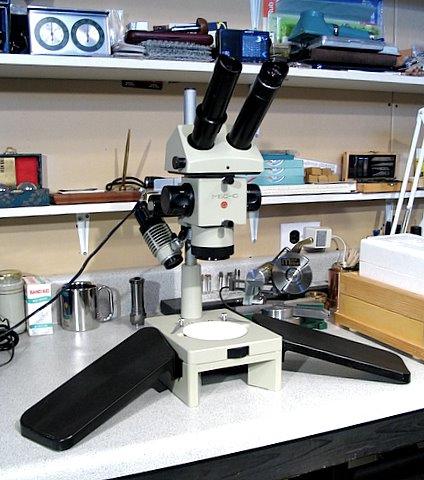
Ready for action
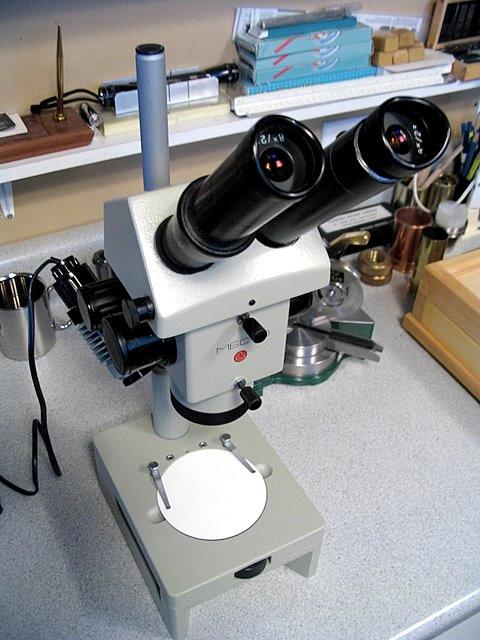
The large knob sets the magnification power
The small knurled knob above it adjusts the interpupilary distance of the eyepieces
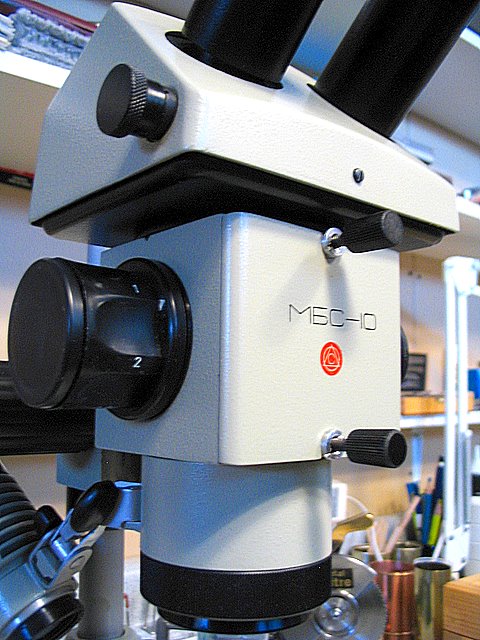
The microscope is modular in construction - assembly / disassembly is a snap!
The upper lockscrew allows removal of the binocular Schmidt prism / eyepiece unit
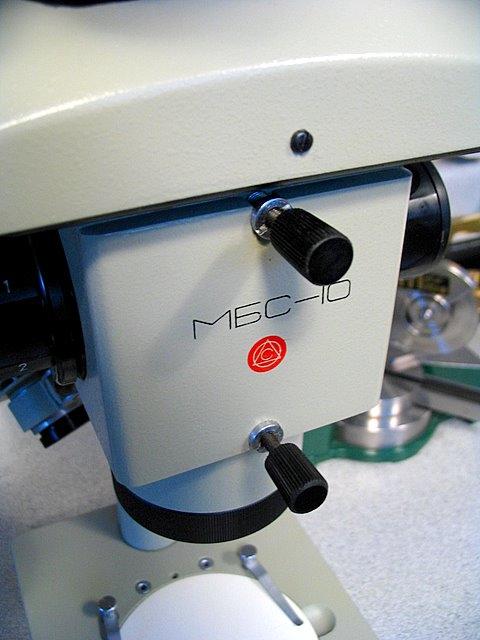
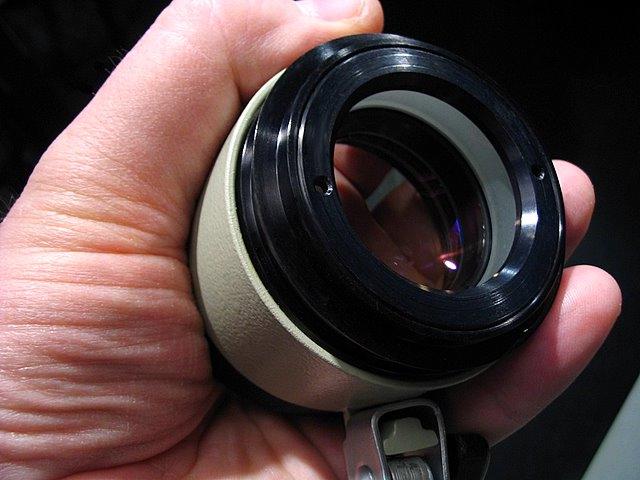
Unscrewing the lower lockscrew permits the objective lens to fall clear of the head

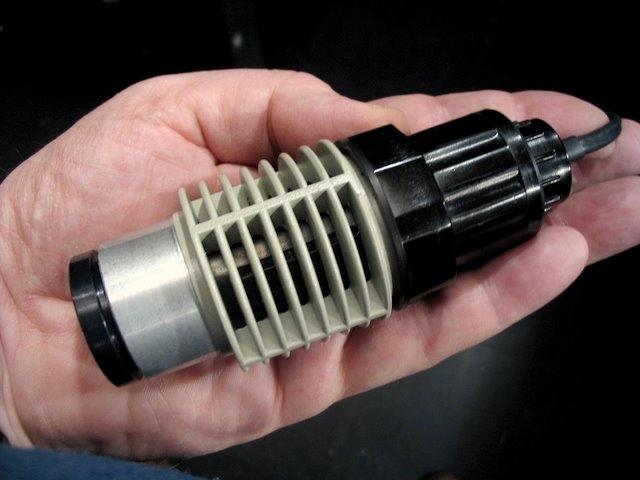
Note the big straight-knurled anodized aluminum ring around the lens.
Loosening this ring allows the large gray collar and the illuminator unit to swivel around the lens barrel
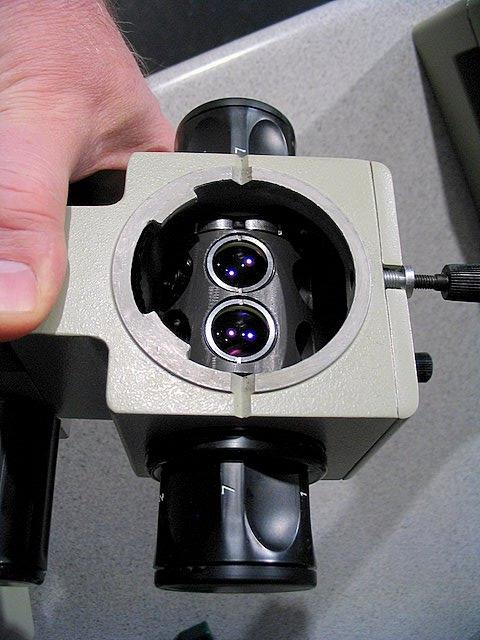
The bottom of the binocular Schmidt Prism unit which supports the eyepieces

Here is a quick look inside the prism head:
The cover is made of sturdy diecast construction
TOP VIEW: two rubber "tires" make a resilient dust seal between the adjustable prism carriers and the cover
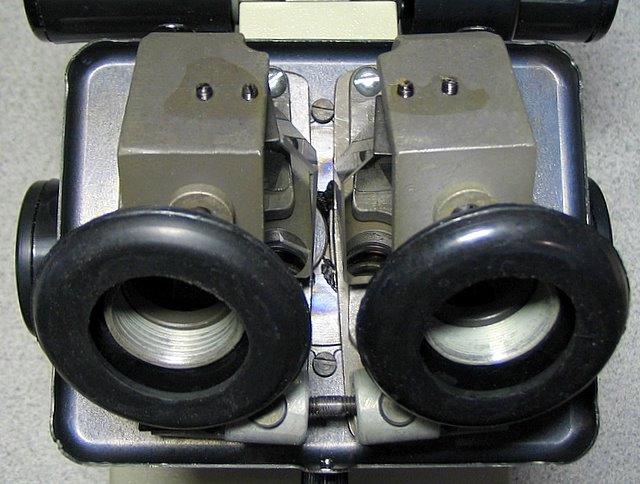
A close view of one of the rubber dust seals - they are like a car tire with only one side on the rim

Here the left prism is clearly visible in its carrier
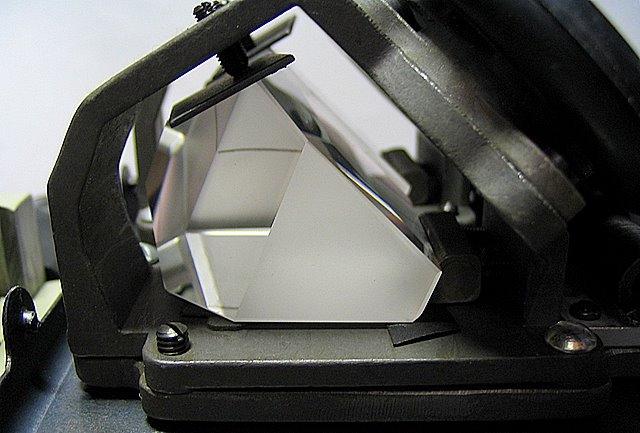
The brown metal cylinder is the part of the coupling for the interpupilary distance adjustment

From a mechanical standpoint, the head unit employs good practical construction techniques all round
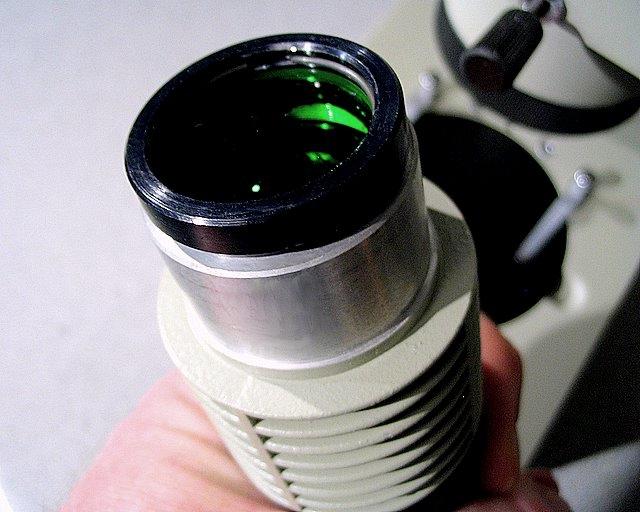
A better look at the bottom element of the objective lens and the green filter over the illuminator condenser lens
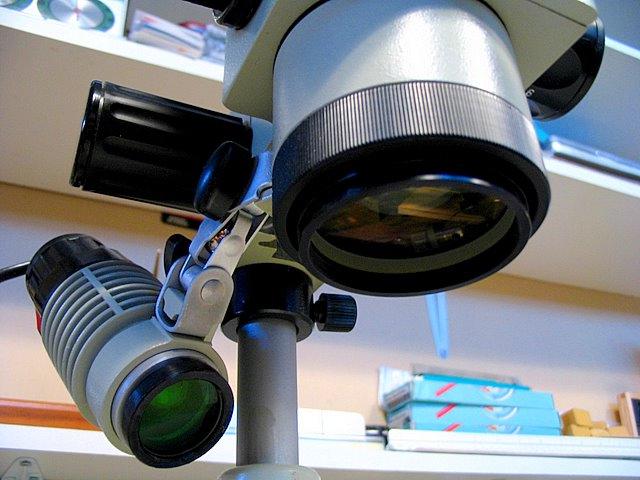
The working distance below the glass is 95mm (3¾ in.)
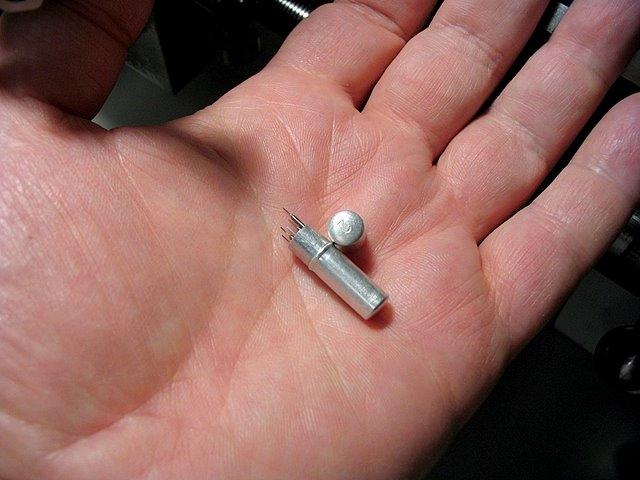
The bottom portion of the objective lens beside a Canon A75 - for a sense of scale

This is the other end of the same lens
The eye tubes and eyepieces are metal while the eyeguards are nonmetal
(the material resembles Bakelite)
Only two sets of eyepieces (8x and 14x) plus an 8x reticle-holding version were included in the 2007 kit
In 2020 I bought a new pair of 6x eyepieces to complete the set and to obtain all the original design magnification levels
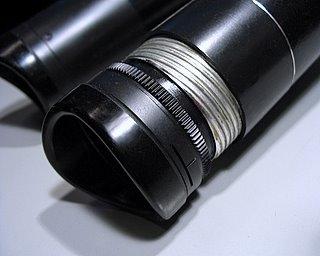
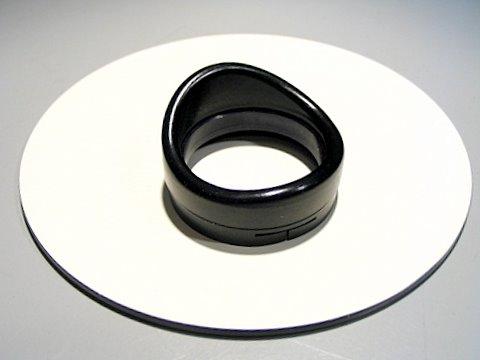
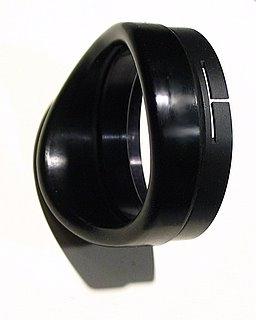
This is the 8x eyepiece for holding the reticles
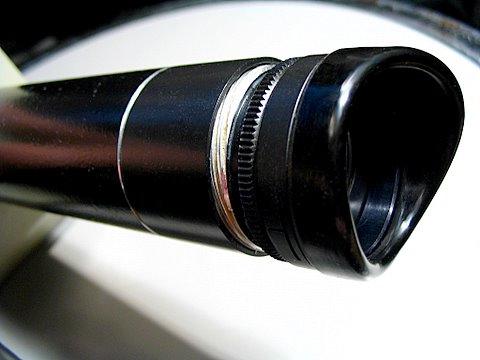
(the multi-start thread for focusing on the recticle is visible in the light coloured alloy)
There were two 24mm glass reticles included:
- a numbered scale with cross hairs (etched) for measuring
- and a grid of 225 squares to assist when counting
EYE GUARD
It is made in two parts - note the thin metal retaining ring that slips on over the eyepiece
The tough smooth-plastic eyeguard is threaded onto the thin ring.
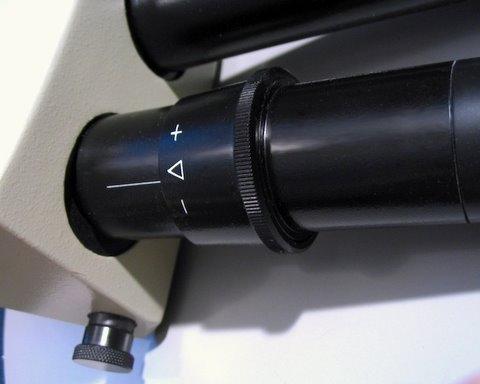
± 5 dioptric focusing is provided on one of the tubes
This is the main head containing the focusing rack and Galilean Drum adjustable magnifier
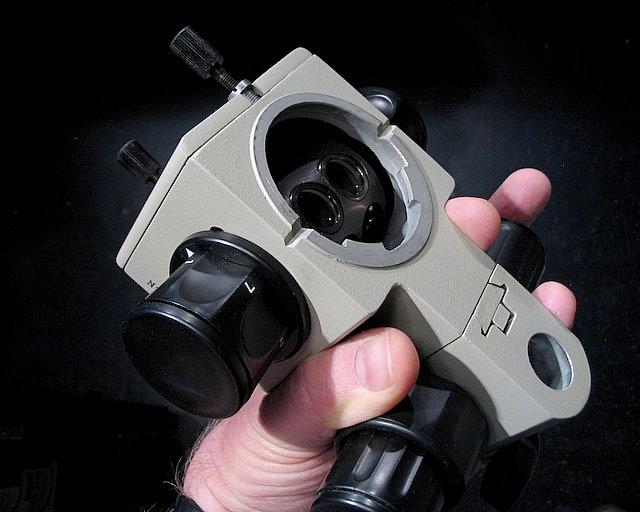
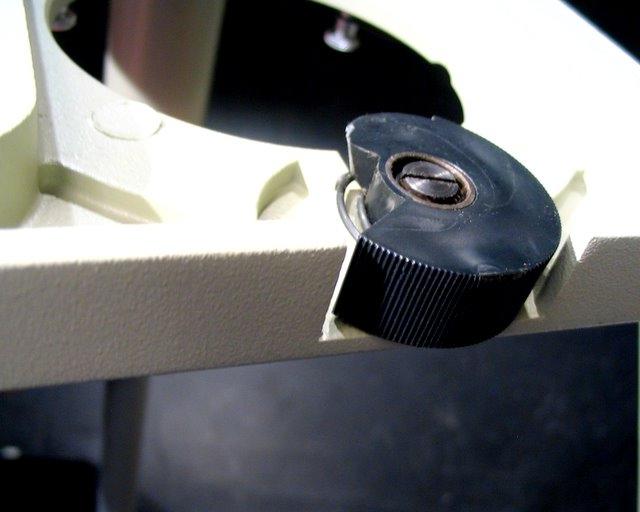
If you are wondering about the double focusing knob by my thumb, only the smaller
diameter portion turns. The larger section is part of a simple system which adds drag
to the rack and pinion dovetail slide to prevent the weight of the head from moving
downward due gravity, therby disrupting focus settings. The friction is applied to the
shaft by a composition washer, bearing against a flat surface under the pressure of a
spring washer.
A view of the rack and dovetail focusing arangement

The entire optical head mounts on a pole
- this arrangement will allow for easy custom mounting on lathes and vertical milling machines
The Galilean Drum showing the 7x lens pair switched into position
However each of the two lens sets in the drum can either add or subtract from the multiplier's power, depending from which which direction you look. This is the same effect as when looking through binoculars from either the front or the back.
The precise lens magnification figures are rounded-off for convenience. For example, the 8x eyepiece is actually 8.16x and the 14x is really 14.30x. Combined with the objectives in the drum this results in an odd, but usable selection.
According to Lomo the actual magnifications are: 3.33x, 4.65x, 5.91x, 8.15x, 8.24x, 11.70x, 14.44x, 16.32x, 23.40x, 28.60x, 32.64x, 41.24x, 57.20x, 57.52x, and 100.81x.
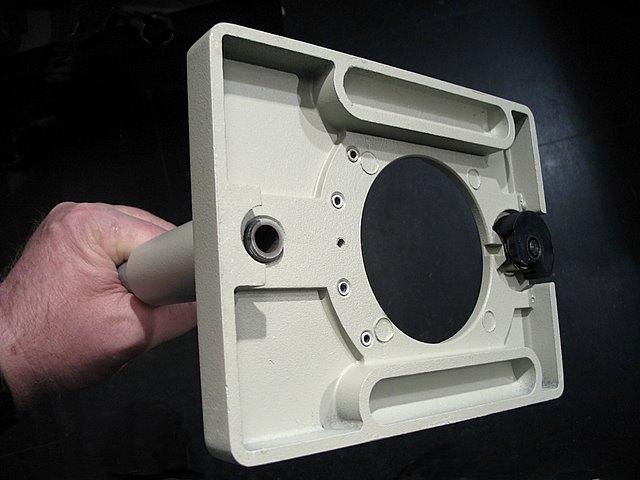
The heavy cast alloy base is made in two detachable parts
- for transmitted and reflected illumination

The casting work is very good - sturdy design and well executed
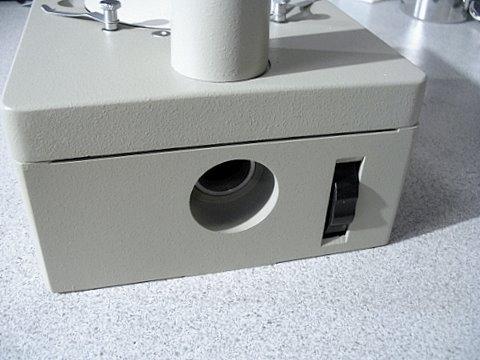
The reflector control wheel and illuminator hole are visible in this rear view
A clear view of the lamp opening showing the quality of workmanship on the base
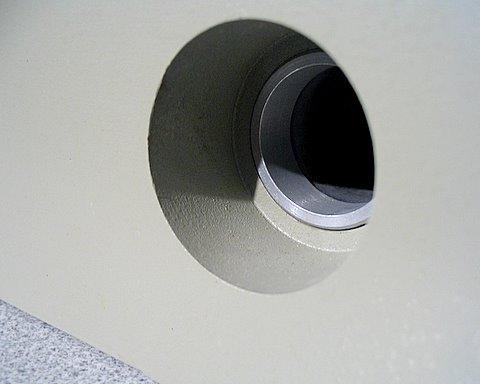
It accepts the condenser unit or just the bare bulb and socket
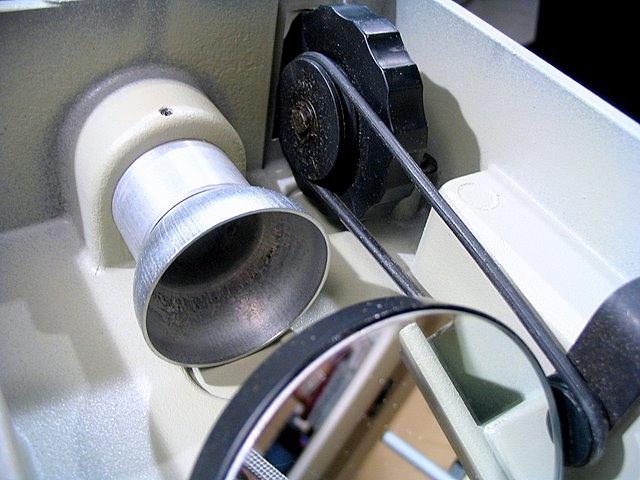
Here is the underside of the base casting, revealling the reflector belt drive and lampholder
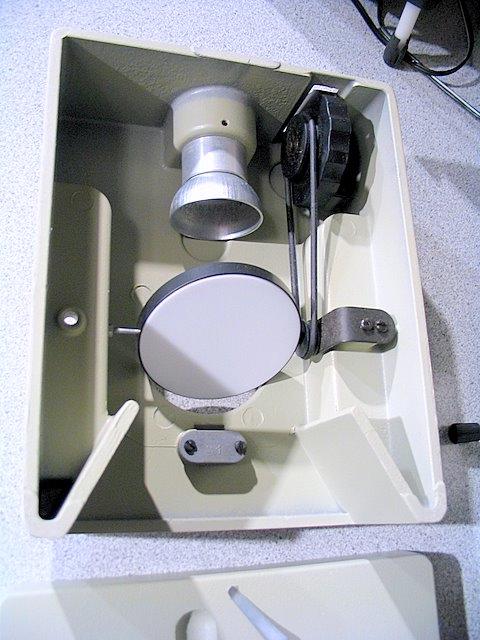
The reflector is mirrored on one side and flat white on the back for diffused illumination

Yes, they even included a spare belt! A common
O-Ring would suffice as a replacement.
The adjustable reflector pivot
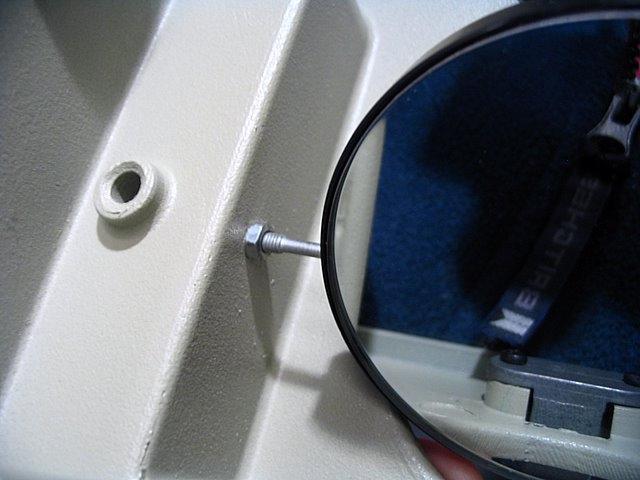
This spring-loaded mechanism latches the two parts of the base together
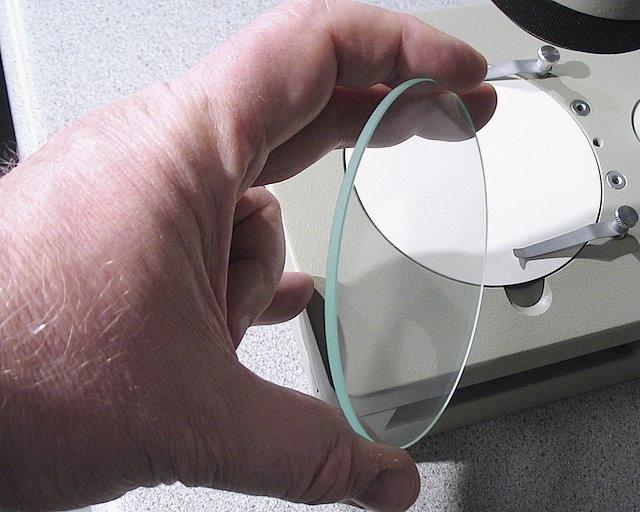
The 100mm glass stage plate is ground around the edge
and chamfered on the top and bottom corners - proper thing!
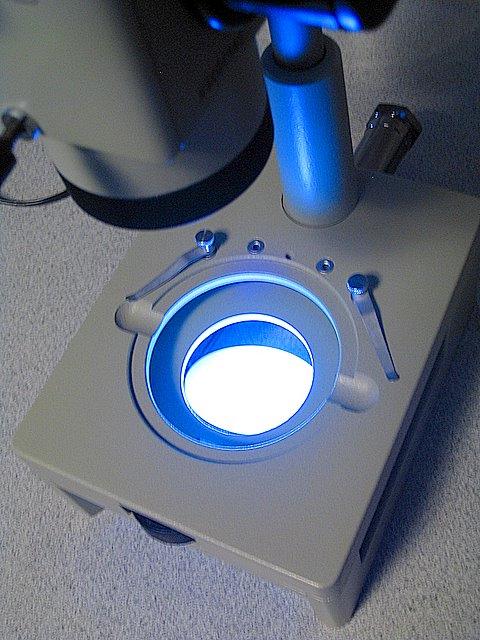
Here I was trying an experiment in LED diffuse illumination
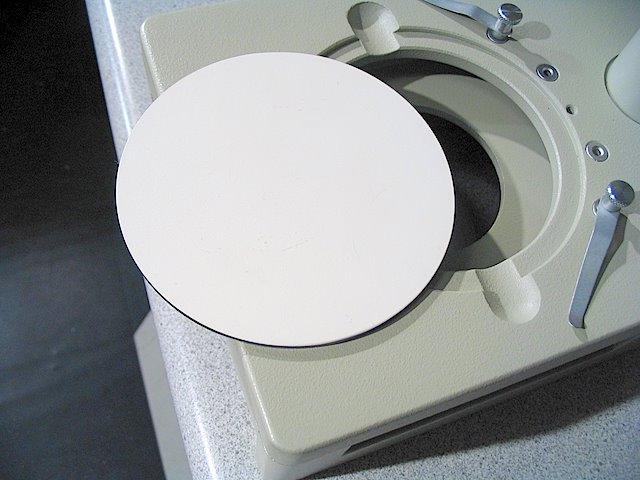
A substantial metal black & white (reversible) contrast plate for use with incident illumination
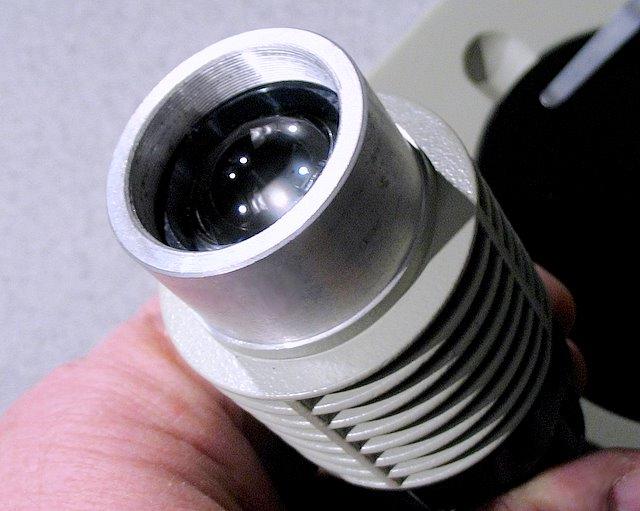
The condenser lens of the illuminator
The tungsten lamp and socket assembly

It is an 8 volt, 20-Watt bulb but operates from a 6-volt transformer
- no doubt greatly extending the life of the bulbs
The condenser filter holder was supplied with a green filter already installed
It should be easy to change the filter to any colour
The complete illuminator
Um...we don't use that type of plug in this country...
- but it is only 6 volts, it's straightforward and it works!

FIVE METAL EYEPIECES
This box also included three illuminator lamps, grid and counting reticles,
as well as eyeguards and a spare rotator belt for the mirror reflector unit.
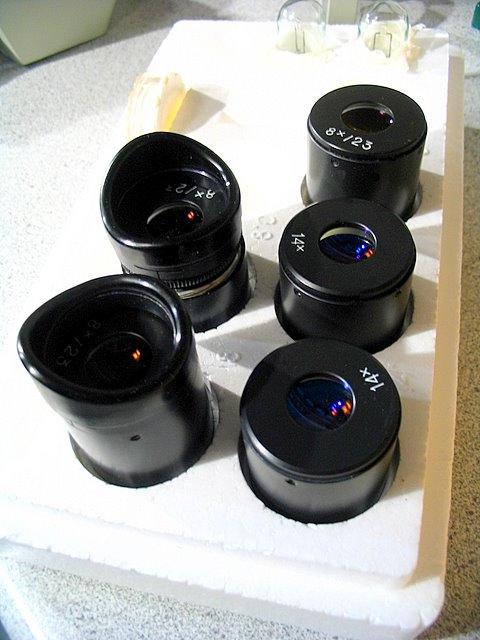
Note that as of Feburary 2020 I now have the full complement of seven eyepieces:
two each of 6x, 8x, 14x and one adjustable 8x special version for use with recticles
(note that two eyepieces are on the microscope and therefore not in the picture above)
THE MICROSCOPE IN ACTION:
Here's a view through the eyepiece at 8.24x magnification

The object is More & Wright half-inch micrometer calliper
These flat micro drills were illuminated with both incidental and transmitted light
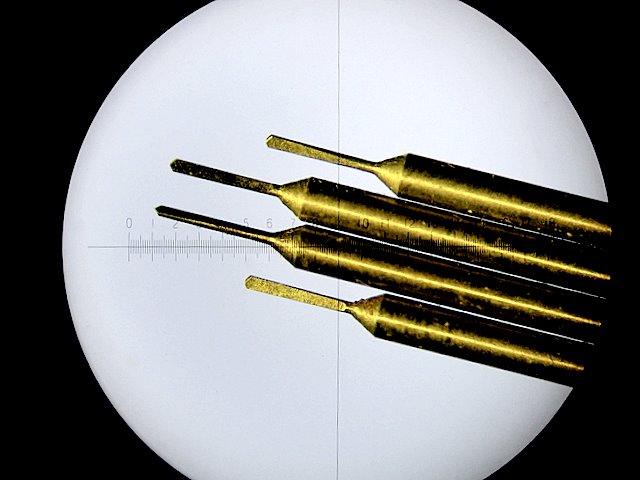
Here is a standard camera macro shot of the same drills protruding from their cannister
A higher magnification of one of the drill points (cropped picture)

I believe the magnification was about 32x - aproximately one-third of the maximum available
The LOMO MBC-10 (LF-100) microscope is equipped with armrests for use during tedious inspections. If I were to use them often, I might be tempted to slide on heavy padded sleeves for added comfort and to weigh them down.
Simply put, my experience with them was excellent.
Click for Page 2:
Installing and Using a Stereo Microscope on the Taig Lathe
or go back to: